Mounting a Samba Share
Samba is a program which allows you to share your files between Linux and Windows. Your Statistics Samba share contains all of your Linux files. By mounting the Samba share on your Windows machine, you will be able to access your files across the operating systems.
*Graduate Students* Graduate students files that exist on a Windows machine are not backed up by the department and is subject to be erased without notice. If your Windows machine crashes, you could permanently lose your files. Only files saved in your Samba share are backed up. Please make it a practice to keep your Windows files on your Samba share.
You must first enable security protocol. In order to mount Linux shares (such as \\samba, U: drive) on a Windows 7 system, you must force Vista to use the NTLM protocol as well as NTLM2.
1. Select Start and type “secpol.msc”. Press “Enter”
2. Navigate to Local Policies -> Security Options.
3. Locate “Network Security: LAN Manager”. Double click on the setting.
4. Change the setting it from "Send NTLMv2 response only" to "Send LM & NTLM -- use NTLMv2 session security if negotiated". Click OK. You now have correctly configured security settings for mounting your drive. Close the window.
5. Now, press “Start” and click “Computer”.
6. Next select “Map Network Drive”.
7. Click on the “Drive:” drop down menu and choose “U:”.
8. Next type \\samba.stat.tamu.edu\<username> in the Folder box. Replace <username> with your Statistics Username. For example, John Smith (username: smith) would write \\samba.stat.tamu.edu\smith.
9. Make sure the “Reconnect at logon” box is checked and select “Finish”.
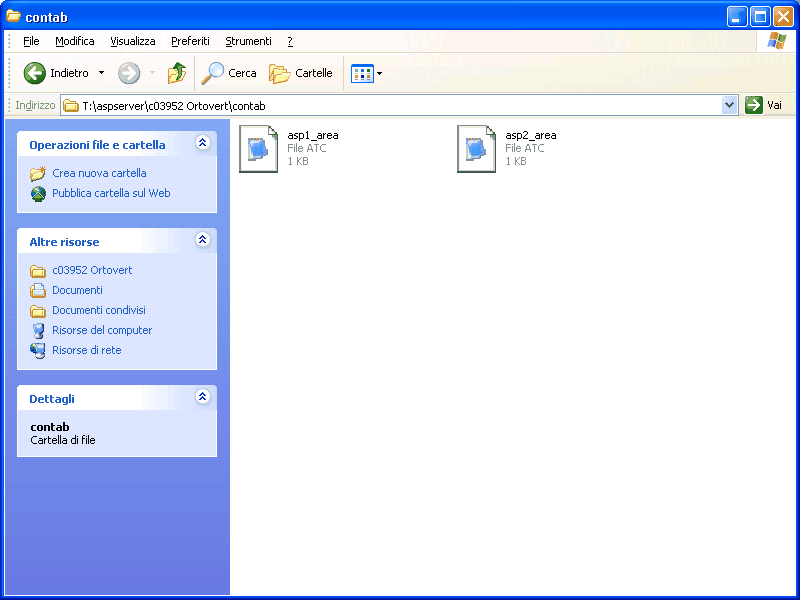
10. Samba should now be visible in “My Computer”.
